Spotting safety hazards is one thing—fixing them is what really makes a difference. This guide shows how a simple visual tool can help you and your team quickly identify areas for safety improvement and take action.
Don’t Just Walk Through—Map It: A Smarter Way to Improve Site Safety
Everyone plays a part in keeping the workplace safe. But just noticing hazards isn’t enough—you need to act on what you find. That’s where hazard mapping comes in.
Instead of simply jotting down notes during a site walkthrough, you and your team draw a basic layout of the workspace and mark problem areas—places where accidents, slips, or strain are more likely to happen.
Seeing your work environment laid out visually helps you spot patterns and focus your time and energy where it matters most.
Where Hazard Mapping Works Best
Some areas need closer attention than others. Hazard mapping is especially useful in:
- Busy production lines – Where people and equipment often cross paths, raising the risk of trips and bumps.
- Shared maintenance corridors – Packed with tools, equipment, and foot traffic.
- Temporary workstations – These pop-up areas may lack proper safety measures.
By mapping these spaces, you can clearly identify where problems are most likely to occur.
Add Context, Not Just Dots on a Page
A good hazard map goes beyond the layout. It works best when combined with real-world insight from the people who use the space every day:
- Near misses – Show where incidents almost happened.
- Team feedback – Include comments from colleagues who know the space inside out.
- Fatigue zones – Shade in areas where staff often report aches, tiredness, or strain.
All this input helps build a fuller picture, so you can prioritise improvements with confidence.
Turning the Map Into Action
A hazard map shouldn’t gather dust on a wall. Use it to drive real, practical changes:
- Spot patterns – Are the same places showing up repeatedly?
- Focus resources – Direct budgets, training, and improvements where they’ll have the most impact.
- Get buy-in – When teams help identify and solve risks, they’re more likely to follow safety practices.
Real Example: Mapping in Action
At a UK food production site, workers reported frequent slips in one hallway. Supervisors mapped out the area and marked every incident. One stretch of corridor kept popping up. With help from staff comments about wet floors and heavy foot traffic, the company invested in anti-slip matting and improved drainage. The result? Fewer accidents and staff saying they felt safer at work—within just a few weeks.
Quick Fixes That Make a Big Difference
Some parts of your map may always be high-risk—but that doesn’t mean you can’t reduce the danger:
- Anti-slip matting – Ideal for wet or greasy floors.
- Anti-static matting – ESD protection for static-sensitive areas.
- Flame resistant matting – Impervious to sparks and hot metal.
- Safe-Flex™ mats in common workstation sizes – Flexible matting to ease strain in areas where workers stand or lift regularly.
Small upgrades can stop costly injuries and protect your team from long-term discomfort.
Hazard Mapping: A Team Effort
This isn’t a solo job. Involve people from across your site—managers, supervisors, and most importantly, frontline staff. Ask questions like:
- Where do you feel most at risk?
- Have you seen or heard about incidents in specific areas?
- Which parts of the site leave you feeling tired or sore?
Do a walkaround with your map in hand and note things together. Then, meet as a group to decide what changes will make the biggest difference.
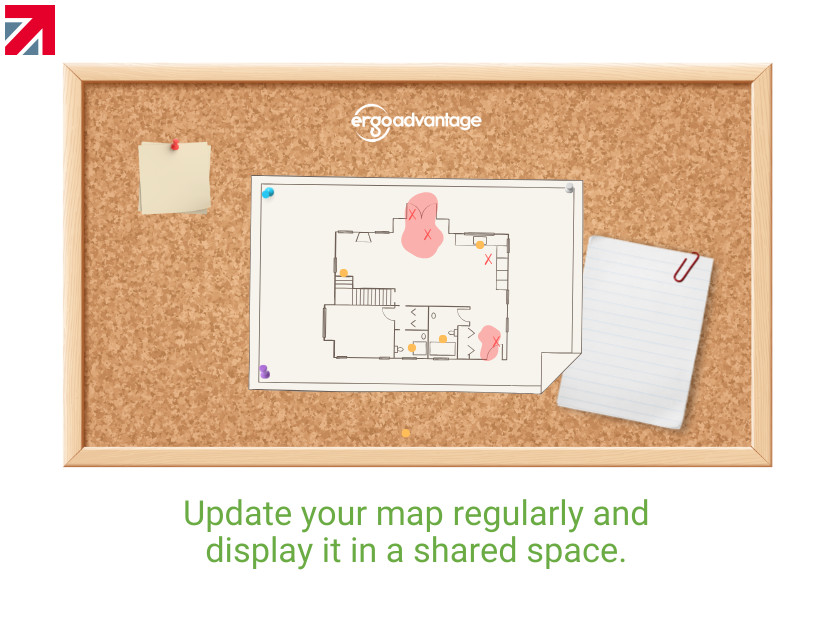
Keep It Fresh and Visible
- Update your map regularly—especially after any incidents or layout changes.
- Display it in shared spaces so everyone stays aware.
- Use it as a checklist for improvements and track your progress.
Safety isn’t just about ticking boxes—it’s about keeping people safe. When risks are visible, they’re easier to fix.
Final Thought: From Noticing to Acting
Hazard mapping helps you move from observation to action. By visualising risks and involving your team, you create a workplace that’s not just safer—but stronger. If you’d like help getting started, we offer a free site safety assessment to identify key risk areas and recommend cost-effective solutions.
Let’s work together to make your site safer—one improvement at a time.
Find out more about Ergo Advantage (UK) Limited on their member profile page here
Member-created content 1 month ago | From members