Content editor Martyn Moore reveals some useful techniques to improve your product photography

PHOTOGRAPHY is probably the very last stage of the manufacturing process before selling whatever it is you make. You identified the need for your product and designed it; you made a prototype and refined it; you went into production and finally, you want to sell it. Now, take a photograph of it.
Here's a question for you: will you put the same amount of effort into the photograph as you did into all those previous stages between ‘idea’ and ‘product despatch’? It would be a shame if you didn't, considering all the time and effort and money it took to make your product a reality.
Part of the problem is the smartphone. Phone-based cameras are amazing and create better pictures than any of us could ever take on a 20-year-old film camera, great for sharing on small screens like tablets and laptops. Photo apps can correct the yellow cast from indoor lighting and make the background blurry to emphasise foreground detail but they can only do so much. To help them out you need to think about a few things yourself and understand what makes a great product shot.
 The first consideration is lighting. The best products shots have very soft, even lighting, which avoids dark shadows. The bigger the light source, the softer, more even the lighting. This is why professional product photographers use something called a ‘softbox’. The light is behind a translucent screen, which acts as a diffuser, spreading the light across its surface and evenly down onto the subject.
You probably have the equivalent of a softbox near you now – a window letting in daylight. If the daylight is bright sunshine, make sure the sun is not shining directly through the window – that would be very hard, directional lighting and that’s not ideal for product photography.
So, set your product up to be photographed by a window pointing away from the direct sun. If the weather is bright but overcast, that will be fine through any window. The clouds are acting as an additional diffuser to the light. The light does still need to be quite bright, though, so dull, late afternoons in winter might not be bright enough. ‘Bright’ and ‘soft’ are different qualities and you do need both.
Use A1-sized sheets of card underneath your product and as a background. If your subject is small enough you can curve one sheet up from the base to the backdrop to avoid the join line between the two sheets.
 Just using flat, even daylight and a plain white base and background can make a huge difference to the quality of your photographs, even if you take them on your smartphone. You will probably have to increase the exposure manually because the auto-exposure will turn the bright, white to an underexposed grimy grey if left unadjusted.
If you have lots of products to shoot and will add to your inventory in the future, it might be worth investing in a light tent. The cheapest of these start at less than £20 and there are lots available on Amazon. But you get what you pay for and for the more serious product photographers there is a whole range of light tents and cubes available from photographic retailers such as Wex. These can be used with very bright desk lamps, fitted with daylight bulbs or, for better results use LED light panels, available from Wex from about £55 each; this Neewer light from Amazon is £85 and I use one of these for my video productions. No photographic lights at this price point are made in Britain, I'm sorry to say.
Photography can be a great way to burn through money and a mirrorless digital camera, a light table, off-camera flash of LED panels and a professional softbox will set you back a couple of thousand pounds. Manufacturers with hundreds of products and new lines coming through all the time will probably justify this kind of outlay, and the time it takes to become proficient at shooting with it. Others might do a deal with an established professional and let them take care of it.
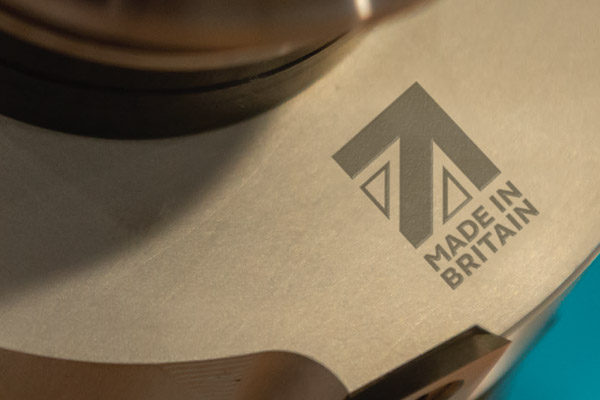
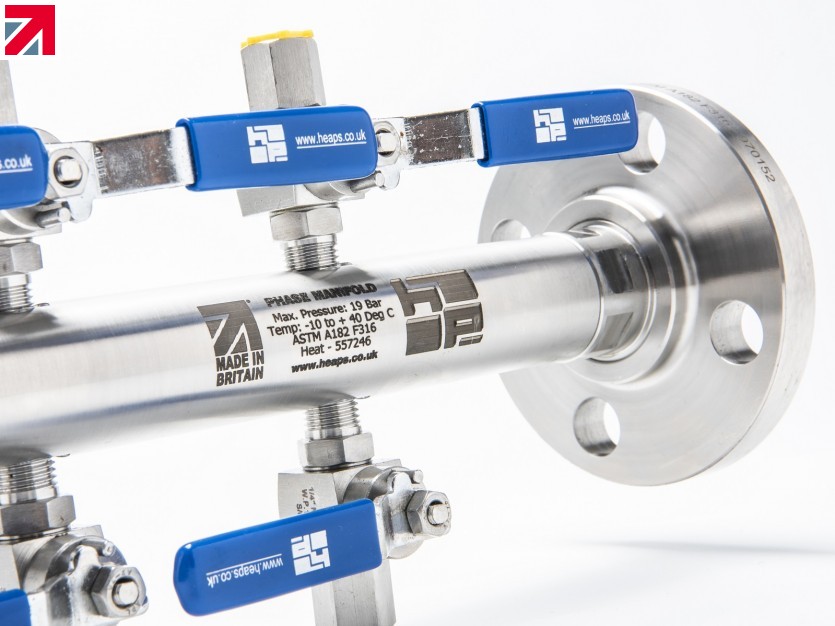
But investment in good photography is rarely wasted. Made in Britain is always looking for well-lit, sharp photos of members’ products and packaging that feature the famous Made in Britain mark. We use them to accompany press releases and in promotional items that showcase British manufacturing quality. How often have you seen this one (right) for example?
Photos taken on a smartphone are better than no pictures at all, with pictures that were taken carefully on a smartphone often rivalling those taken by a professional. How carefully are you taking yours?
Ten tips for great product photography
1) Use bright but soft, even lighting to avoid harsh, deep shadows.
2) Choose a plain, non-distracting background (very blurred out-of-focus backgrounds can work OK).
3) Put your phone onto a support or use a tripod for your camera to eliminate camera shake.
4) Look very carefully at your subject to choose the best angle to shoot from.
5) Use exposure compensation or control the exposure manually to avoid large areas of white going grey.
6) If shooting lots of products, consider investing in a small light tent and two bright light sources to point at it.
7) Take photos using your phone or camera in the horizontal and vertical orientation. These are known as the ‘landscape’ and ‘portrait’ formats.
8) Check the sharpness of a photo taken on a phone by zooming in to the detail. Expanding a section by separating your finger and thumb across the screen will soon reveal the limitations of a photograph taken on a phone.
9) A camera costing £200 will deliver much better photographs than a smartphone costing £900 (but you can’t get Facebook on it).
10) Learn some basic image editing skills on one of the many image editing programs available. You should be able to crop an image, adjust its exposure, contrast and colour and output to different files sizes according to how the photo will be used. Photos that will be printed need to be 300dpi and at least 5MB; photos used online should be 72dpi and around 1MB.
Send your photos of products featuring the Made in Britain mark to editor@madeinbritain.org
 |
THE first job I really loved involved taking pictures of steel-framed buildings and the bits they were made out of. I worked for a structural engineering company in Yorkshire and at the end of my technical training, I landed a dream job in the marketing department with access to a Canon AE-1 camera. For six months I was taught by my boss Frank how to capture the innate strength and rigidity of a galvanised steel purlin and the thick protective paint on a cleat. I learned the importance of light and even travelled overnight to sites to capture finished buildings at dawn and during the ‘golden hour’ after sunrise. The journey from this humble beginning in 1981 to editing Britain’s best-selling photography magazine in 1995 is not for this article, but I’ve taken a few photos in my time. I hope I’ve also helped a few thousand enthusiast photographers who read Practical Photography magazine to improve their pictures. |
______________________________________________________________________________________________________________________
 MEMBERS of Made in Britain receive an email newsletter every week, giving news, information and links to members-only events.
From September, initially once a month, Made in Britain will send out a different newsletter to non-members. The content of this email will demonstrate the breadth of activity that goes with the licensing of the official, protected mark. It will also provide information about the manufacturing sector in the UK.
Sign-up for this newsletter is open to everybody, members and non-members alike (members might see some content similar to that in their weekly newsletters). If you would like to receive a monthly news digest from Made in Britain sent directly to your inbox, use the form below to send us your details. Just type your email address and hit 'return' or 'enter' on your keyboard.
By Made in Britain 4 years ago | By Made in Britain