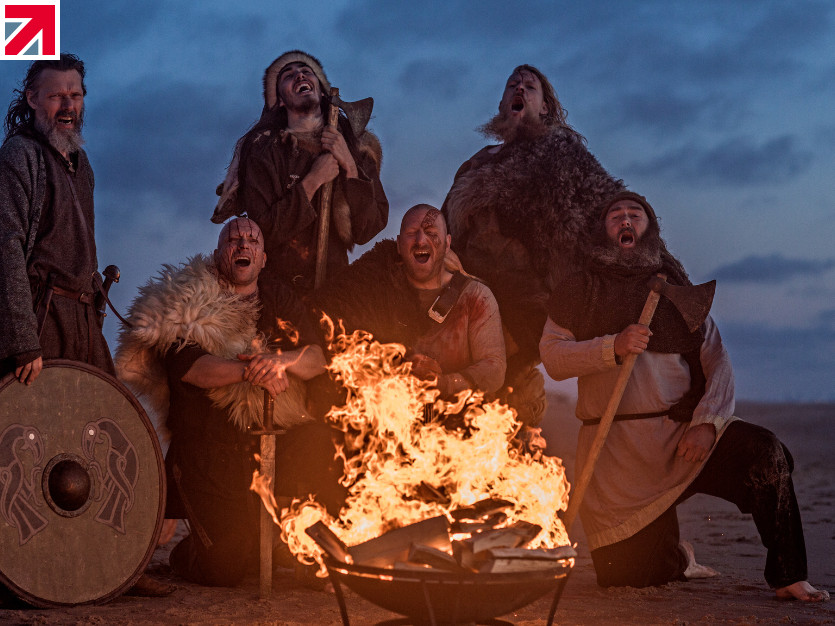
It’s that time of year folks, and today we present you with a Halloween special. In another one of our unique projects, we designed and manufactured a to scale, Viking shield. Why I hear you ask? Ignoring the fact that we now have a genuine Viking shield in our hands, what better excuse than for Halloween!
Better yet, this is a Viking shield solely made from scrap materials that were found lying about the workplace or donated by local businesses within the vicinity. The only purchase for this shield was the paint and some chrome capped screws.
Throughout this case study, we will take you through a little background knowledge of the famed Viking shield and the steps we took to replicate our very own.
Background
The Viking shield was an indispensable tool that most Vikings would carry into battle. We would often imagine Vikings as horned berserkers, clad in expensive armor. Sadly, as evidence suggests, this was not the case, with a large portion of the Viking population unable to access armor at all. This made the Shield all the more important.
The shield was symbolic, acting as both a defensive and offensive weapon. They would often be decorated to represent the identity or loyalties of the handler, and were often painted with runes for a spiritual boost.
Construction
Primarily constructed of wood, the shield featured a Boss made of iron. Not only would this act as protection for its user’s hand, but could be slammed into the handler’s opponent, stunning them for the killing blow. The handle, being in a central position, did prove vulnerable to instability and weapon retention, but equally offered an advantage in reach, maneuverability and tactical options. The handler could pivot the shield to deflect blows from different angles proving extremely effective in battle.
Shields ranged in size from 600mm – 900mm depending on the handler. They would be bespoke made to the warrior with the aim of finding the right balance and coverage.
There is much debate from historical records on the material used to make a Viking shield. It is often said that Linden wood was the preferred wood of choice because of its properties as a lightweight but strong and flexible material. Some have also debated that iron bands were used along with iron nails to secure the wooden blanks in place. This too has been disputed by historians.
The common Viking shield would have been made from wooden planks butted together and secured in place with metal or wood. A layer of linen or leather would sometimes be used to cover the front face of the shield. Other research identifies paint applied directly to the wood itself, suggesting that not all shields were covered.
The edge of the shield would also be lined with leather, disputing the impression that shields were iron rimmed. Iron rims would increase weight and cost considerably, and there is little archeological evidence to suggest iron rims were used.
Our thought process
At Excell, there are many among us who are big fans of the Viking series on Amazon Prime, and Netflix’s The Last Kingdom. What started off as a light hearted joke soon turned into realization that, yes, we could replicate and make our own Viking shield using the materials we have lying about the workplace.
With some research, plenty of tea, one or two broken pallets and some scrap mild steel, we were well underway with our next eccentric project.
Step 1 – CAD Design
The first step of course was to design the shield after doing some research online. Using Computer Aided Design (CAD) software, we were able to replicate a resemblance of a shield, utilizing its different material functions.
In our design, we went with the middle dimension of 800mm. This size was fairly “one size fits all” and would serve perfectly for our Viking goal.
Along with the initial model, we were able to extract different pieces of the shield to create DXF files which would be later used to Laser cut the bands and the shield boss for the final product.
Step 2 – Gathering Materials
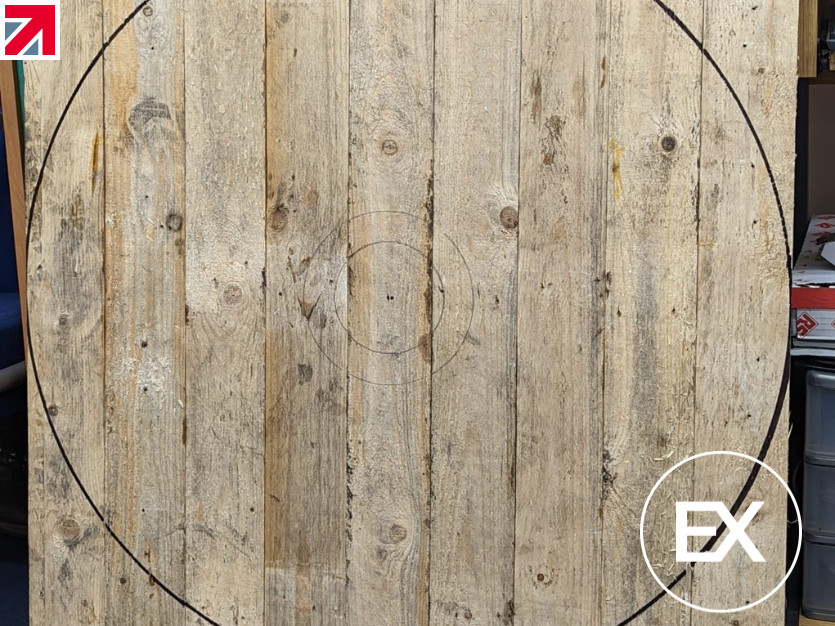
With all of the designs finalized and ready for production, we carefully removed the screws from the broken pallet and utilized the best planks we had. We then glued the planks, butting them up with clamps and left to dry over a day.
Whilst it was drying, we then proceeded to gather any offcut Mild steel that we could utilize for the bands and shield boss. Luckily, we still had some 1.2mm thick steel lying around.
Step 3 – Laser Cutting
With the DXF files at hand, our fiber laser made short work of cutting the material into shape. We also added at this stage some 4mm holes that we would use to secure the metal to the wood. In a matter of minutes, we had all the metal fixtures we needed for the shield.
The laser cutter was a perfect machine for this project, with capabilities of cutting up to 16mm thick mild steel, and making short work of up to 3mm Aluminium and 6mm thick stainless steel!
Step 4 – Metal Spinning the Boss
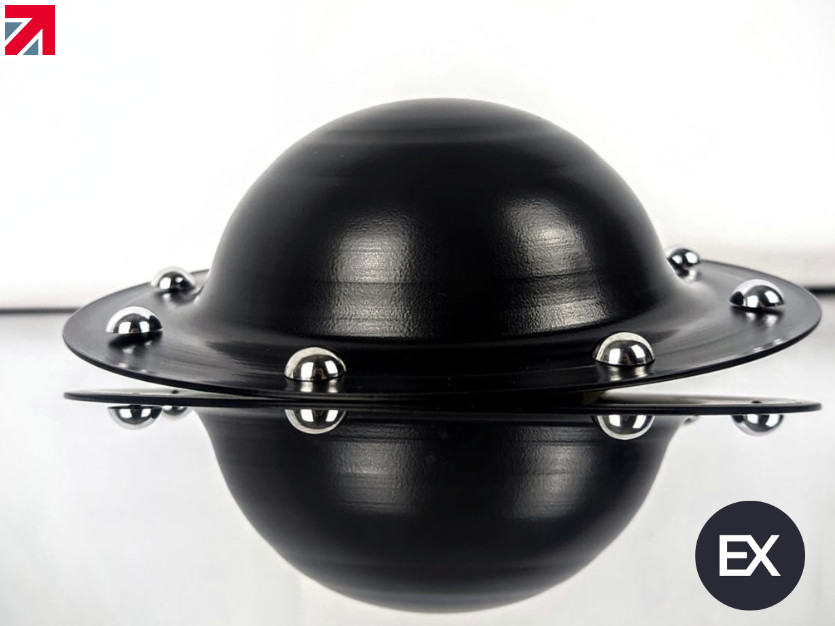
As a Metal Spinning organization, we are ideally geared up to form the Shield boss for the shield. One of our skilled craftsman took on the challenge of hand forming the shield boss which he successfully did. Fortunately, the tooling required for this project was readily available in our tool storage and created the perfect boss for our Viking shield!
Step 5 – Painting the brackets, Boss and Cutting the Wood
With the laser cut brackets and fully formed Shield boss complete, our amazing Powder coaters very kindly offered to paint the mild steel in black to offer them further protection from rust. And whilst they were doing that, we were able to cut the wood into shape after 24 hours had passed on by.
With a jigsaw, and a subsequent sanding down of the material, we had our initial shape of the shield ready to be completed.
Step 6 – Designing and creating the handle
Using a post from the broken pallets, we quickly knocked up another design using CAD software for the handle. We recognized that It needed to be fairly lightweight yet strong enough to handle the weight of the shield.
Luckily, a friend of the business was able to produce the initial design of the handle. And using our 3 axis CNC Mill, the handle was skimmed down to size and nailed onto the shield with wood screws.
Step 7 – Nailing into place the Brackets, Shield Boss and Leather binding
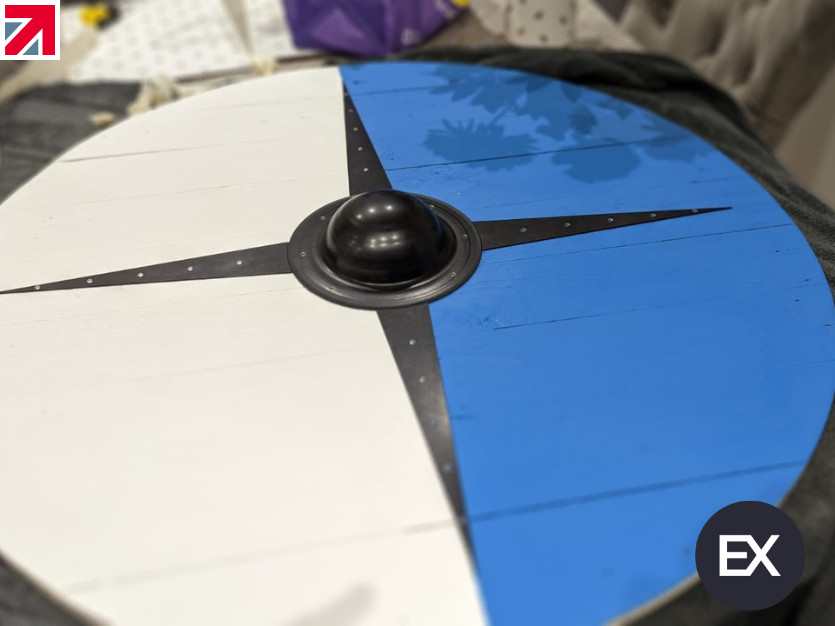
Upon the return of the powder coated mild steel, we excitedly screwed in place the shield boss and brackets. Our eyes lit up, but there was more to be done.
A local business kindly donated tanned leather, creating a shoulder strap for the handle in the process. We were informed that the leather had been scrapped from an old Porsche. With some added weave, it provided us with a strong yet lightweight material that could handle the weight of the shield when worn across the shoulder.
They also bound the rim of the shield to give extra support, just like the Vikings would have done to ensure the edge of the shield didn’t split from impact of a sword.
Step 8 – Designing the Stencil and Painting the Shield
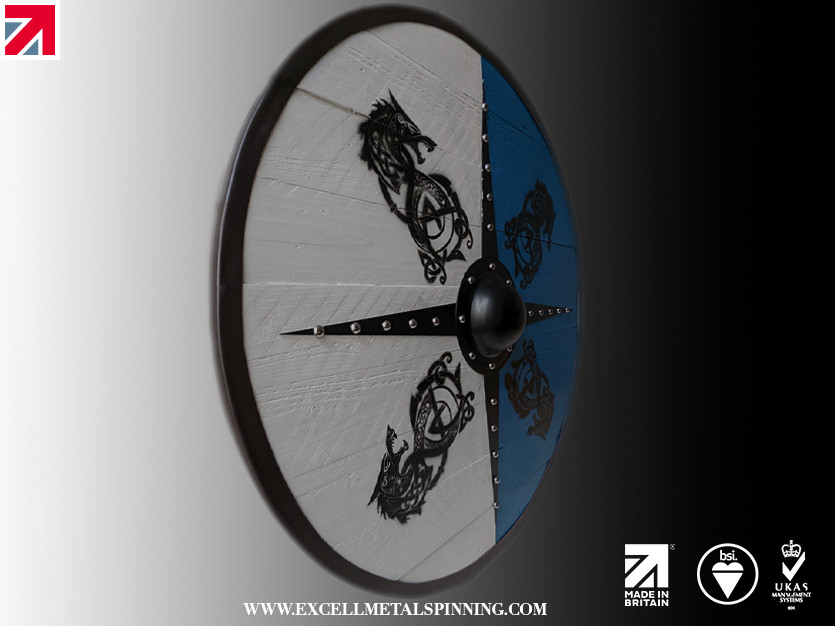
We opted for a Blue and White shield, the colours of Portsmouth! We also wanted the famed wolf design to add a little extra to our very own Viking shield. With some quick thinking, and another CAD design later, we were able to produce a stencil from some offcut Aluminium using the fiber laser cutter.
Over a course of a few days, we were able to complete the initial paint work and prepare for the varnish!
Step 9 – Varnish
With all but everything complete, we had only the last step of varnishing the wood. Because the paint was chalk based, we carefully selected a clear varnish for the front face. We wanted to avoid the yellowing of the white surface and to keep as authentic as possible. We opted for a pine stained varnish for the back of the shield and handle.
Complete!
With everything in place, we were delighted with the outcome and our very own Viking Shield replica. The weight was below the 10kg mark, and offered an insight to the maneuverability and protection of the shield.
We are extremely thankful for the help and support from local businesses and individuals on our industrial estate who kindly provided us with the materials and expertise from the initial handle, the powder coat and the leather!
In your hand, you can truly appreciate the size and scale of the shield and the balance of the weight. Across the shoulder, the leather strap completely takes away the weight, offering insight to the Viking ability to travel vast distances, especially across mainland Britain. It is also possible to envision the shield wall and the protection it offers when held aloft.
This is certainly a project we would love to take on again. So if you fancy joining our shield wall, we would happily provide you with a quote and lead time through the usual channel of email: sales@excellmetalspinning.com.
As the Vikings would say, with a mead at hand … SKAL!
Find out more about Excell Metal Spinning Ltd on their member profile page here
Member-created content 2 years ago | From members
